
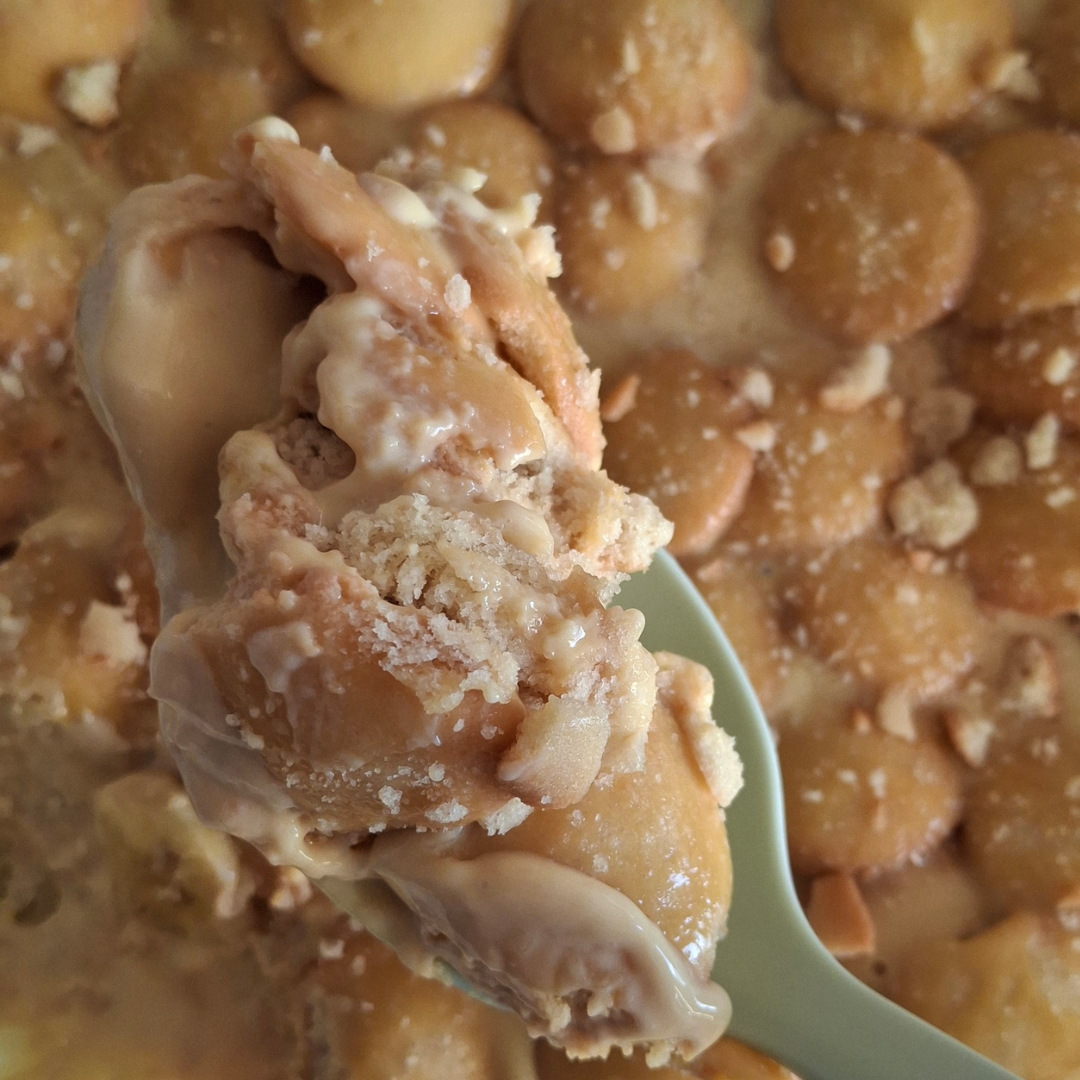
There is nothing like homemade banana pudding, especially when the custard is made completely from scratch. 🍌💛
This is the way my grandma and aunt taught me to make banana pudding so no vanilla pudding mix needed! The homemade vanilla custard is layered with Nilla wafers and fresh bananas, then everything chills together until the cookies are soft and the pudding is thick and creamy
I made a Biscoff version of this recipe before, but this time I’m going back to the classic with lots of Nilla wafers! It’s simple, nostalgic, and one of those desserts that tastes even better after it’s had time to sit in the fridge. 🍽️
Ingredients (makes 8 servings)
For the burger patties
- 1 1/2 boxes Nilla wafers
- 2 ripe bananas (or as many as you like)
- 2 cans evaporated milk
- 6 egg yolks
- 4 tbsp sugar
- 1 tbsp imitation vanilla
Watch the recipe video:
Here’s how to make it:
- Separate the eggs: Crack the eggs and separate the whites from the yolks. Beat the egg yolks until combined and set them aside.
- Slice the bananas: Slice your bananas into thin rounds. I usually start with two, but you can use as many bananas as you’d like depending on how banana-y lol you want your pudding!
- Layer the wafers and bananas: In a 9×9-inch pan, alternate layers of Nilla wafers and sliced bananas. Continue until you have about three full layers, or until you’ve filled your dish.
- Make the homemade custard: In a bowl, whisk together the evaporated milk, egg yolks, sugar, and vanilla until combined. Pour the mixture into a saucepan and cook over medium-low heat, stirring consistently for about 25–30 minutes, or until the custard thickens enough to coat the back of a spoon. You can always taste as you go to make sure it’s sweet enough for you. If you’d like it sweeter, add a little more sugar and continue stirring until it’s dissolved. Keep the heat low and be patient with it. You don’t want the custard to boil! Stir consistently, but not too quickly, as it slowly thickens.
- Strain the custard: This step is optional, but I like to strain the finished custard before pouring it over the pudding. This helps catch any potential little bits of curdles and gives you a smoother custard.
- Pour and chill: Pour the warm homemade custard evenly over the layers of Nilla wafers and bananas, making sure it works its way down through the layers. Refrigerate for at least 6 hours to give the pudding time to set and the Nilla wafers time to soften. I love letting mine chill overnight when I can!
- Serve and enjoy: Once chilled, add a few crushed Nilla wafers on top and serve. Grab a big spoon and enjoy. 💛

If you grew up eating homemade banana pudding, you already know how good that first cold scoop is. 💛 If you try my family’s way of making the custard from scratch, leave me a comment and let me know what you think!
💡Mara’s Tips
- ✨ Use as many bananas as you like. Two works for me, but if you love lots of banana in every bite, add more!
- ✨ Make it as sweet as you like. Four tablespoons of sugar is my starting point, but taste your custard as you go and adjust the sweetness to your preference.
- ✨ Keep your heat on medium-low. Homemade custard takes a little patience. Turning up the heat to speed things along can cause the eggs to curdle.
- ✨ Don’t panic over a few curdled pieces. Straining the custard before pouring it over your layers can help give you that smooth finish.
- ✨ Give it time to chill. At least 6 hours gives the Nilla wafers time to soak up that homemade custard and get nice and soft. Overnight is even better.
- ✨ Want to switch up the cookies? This same homemade custard is what I use for my Biscoff banana pudding. Swap the Nilla wafers for Biscoff cookies for another cozy version.
☁️ Quick Nutrition Estimate
Per serving:
410 calories | 8g protein | 59g carbs | 16g fat
Just a rough estimate! Nutrition information can vary depending on ingredients, brands, and portion sizes used.


Leave a Reply